As an online trainer, you’ve probably scheduled posts to engage your prospective and current clients. But after a while, finding content to post can become time-consuming.
If you've ever wished that you had a tool that could help you store content to post later, I have great news for you... I bet you’re already using a tool that can do this:
Facebook offers the ability to find and store content to later share with your audience. Few people know about it though.

That’s right. You don't need any additional tools or software. Facebook has a neat little trick called Facebook Collections that’s a perfect tool for online fitness professionals.
What are Facebook Collections?
There are many ways you can use Facebook to market your online training business. Facebook Collections allows you to save any kind of content – posts, videos, photos, links, even other events and photos – and store them for later use.
Suppose you’re casually scrolling through your Facebook feed and stumble upon an interesting post. Unfortunately, you don’t have the time right then to read through and share with your followers. Facebook Collections allows you to save the post so you can revisit it at a better time. Super convenient!
Facebook Collections are easy to use, and don’t require any extra effort on your end. You simply save the interesting content, organize it how you’d like, and post when you’re ready!
Your Step-By-Step Guide to Using Facebook Collections
Step 1: Find and Save Content on Facebook
Saving content on Facebook is so easy. Simply click the menu button (three dots) in the top right hand corner of the post and choose the "Save" option from the dropdown menu.
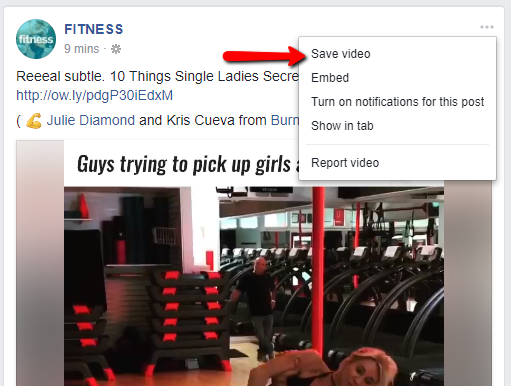
Saving content on Facebook is easy!
Once you’ve saved a post, Facebook will store it in the "Explore" section on the left of your homepage.
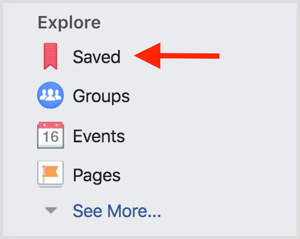
Once you click on the “Saved” category, Facebook will display every post you’ve saved in chronological order. From here you can organize your posts into Collections.
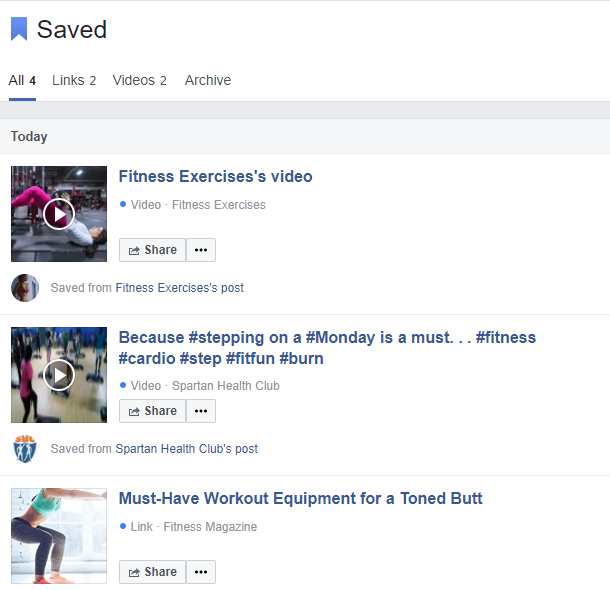
Step 2: Create Collections to Organize Your Content
Facebook allows you to create different collections for you to organize your content into different topics.
Simply click the “New Collection” button on the left of the screen to create a new collection. You can use collections to organize your posts into different categories, e.g. you can create Home Workout Routines as a separate collection from Nutrition & Recipes and Strength Training Exercises.
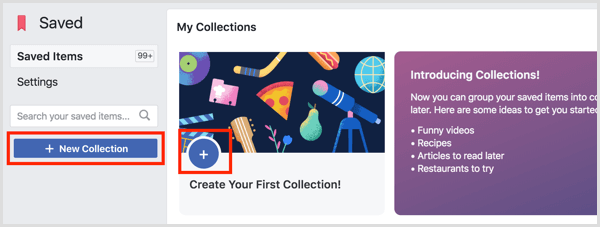
All your Collections will appear in a menu on the left of your screen, so you’ll be able to access them easily.
Step 3: Add New Posts to Your Collections
Once you’ve created your Collections, you can now start organizing your saved posts by adding them to their appropriate Collection. All you have to do is click the “Add to Collection” button below your saved post, and choose which Collection to add the post to.

Step 4: Manage Your Collections
After a while you might end up accumulating a lot of posts, and you’ll need an easy way to sort through them. Lucky for you, the developers at Facebook also thought about this and created an easy filter option.
Simply click the “All” button at the top of your Saved list and a drop-down menu will appear. Here you’ll see a number of sorting options that you can use to help you find the post you’re looking for.

Remember that the posts are listed in chronological order, so these filters can be very useful in sorting through all your posts. For example, using the Video filter is a great way to find a fitness video that you might have saved a couple months back.
Once you’ve found the post that you’re looking for, you can share it on your page by clicking the Share button under the post. Facebook also gives you the option to create your own post and personalize the message to your followers.

The "Share" button under your saved posts allows you to personalize and share the post with your audience.
Other Helpful Tips
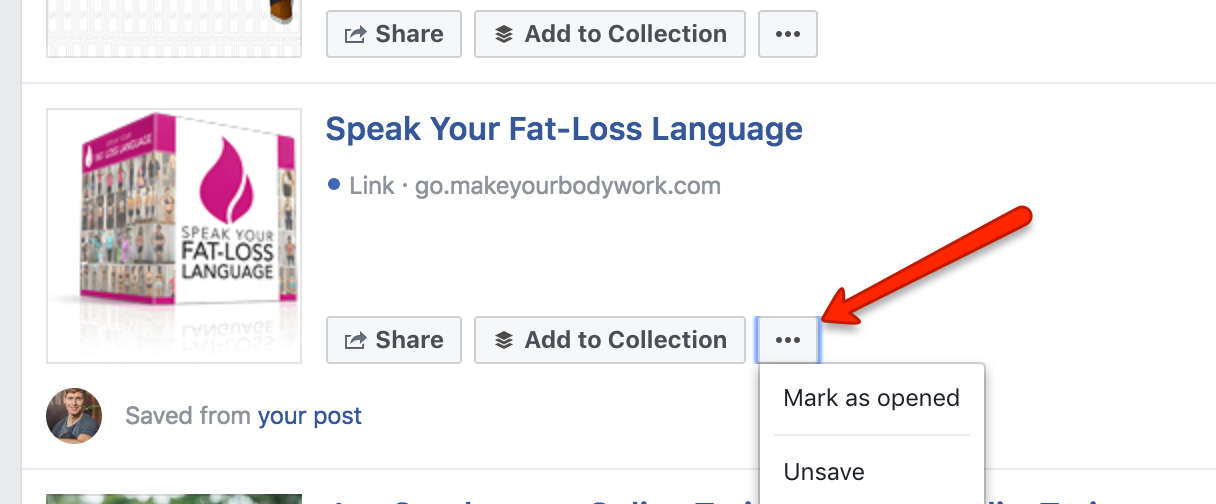
Similar to emails, Facebook allows you to mark a post as “Opened” or “Unopened”. To do this, simply click the menu button beside the post and select the option you want. This feature helps you organize your content even more.
If you’re finished with a post, or you decide it’s no longer relevant to your message, you can simply “Unsave” it. Just hover over the post in the Saved list and a small “x” will appear to the right. Clicking the “x” will unsave the post and remove it from your saved list.
Recap
While it's important to create your own content for SEO purposes and for business branding, sharing others' content is a great way to stay in front of your audience, keeping YOU top-of-mind.
Creating Facebook Collections is an easy way to make curating content for your audience much more time efficient.
- Save interesting posts whenever you come across them.
- Organize these posts into relevant Collections.
- Personalize and share on your Facebook page whenever you're ready!


